Danger Brewing: The JavaScript Powered Kegerator - Tech Overview
This is part three of three in a story about a completely unnecessary, over-engineered appliance that dispenses beer, has its own web application and reports data in real-time.

As mentioned in the overview, there were a lot of ways I could have went about this build. For example:
I felt these projects either were too complicated for what I wanted to do or didn’t meet my objectives, etc. I also wanted to take the time to learn some new things along the way.
Architecture
I have a physical device (the freezer) in the real world collecting some data. I want to be able to see that data when I’m away from the actual freezer, so via my phone, computer, etc. The freezer data was likely to be collected by an Arduino, Raspberry Pi or something similar. Having the data with me at all times is likely to be a mobile app, website, etc.
I don’t have a lot of experience with electronics, so I wanted to spend most of my time learning that.
My first major architecture decision was to leverage Firebase. If you’re not familiar with it, it’s basically a “back end as a service” that also specializes in real-time data (sockets). So I need my kegerator to send data to Firebase and I need my web app / mobile app to read data from Firebase.
I decided to go the web application route for the user facing side of things since it would be more available to everyone and I could just leverage my knowledge of Ember to build something fast (Ember is awesome by the way). But at the same time, I wanted to explore some new areas of Ember, particularly Fastboot (server side rendering).
For the data collection, I stumbled across Johnny Five. Johnny Five seemed awesome. Building robots in JavaScript? Sold.
Decisions made. This seemed like the fewest moving parts that gave me the most amount of functionality. It also created a scenario where I could learn a lot of new things while still feeling really productive.
Building The Prototype
I started building the hub (the Raspberry Pi) portion of the project first. I had never used Johnny Five nor did I have an idea of what data I would collect from these sensors. So first things first, hub materials:
- Raspberry Pi 3 — and all the required components: SD card, power supply, etc.
- Cobbler — to make prototyping easier
- Breadboard(s)
- Flow meters — used to measure liquid being poured on tap.
- DS18B20 temperature sensor — to measure the internal freezer temperature
- AM2302 temperature and humidity sensor — to measure temperature near the draft towers.
There weren’t any particular reasons why I chose those sensors. In hindsight, the better idea would have been to do more research on what works well with Johnny Five. The temperature sensors I used didn’t play that well between Raspi-IO (The Firmata API) and Johnny Five, so I wound up looking for some external libraries to help me out.
The rest of building the prototype is just what you would expect; connecting things to the pi and breadboard, writing code and seeing what data I would get. Here’s what it looked like in its final prototype state:
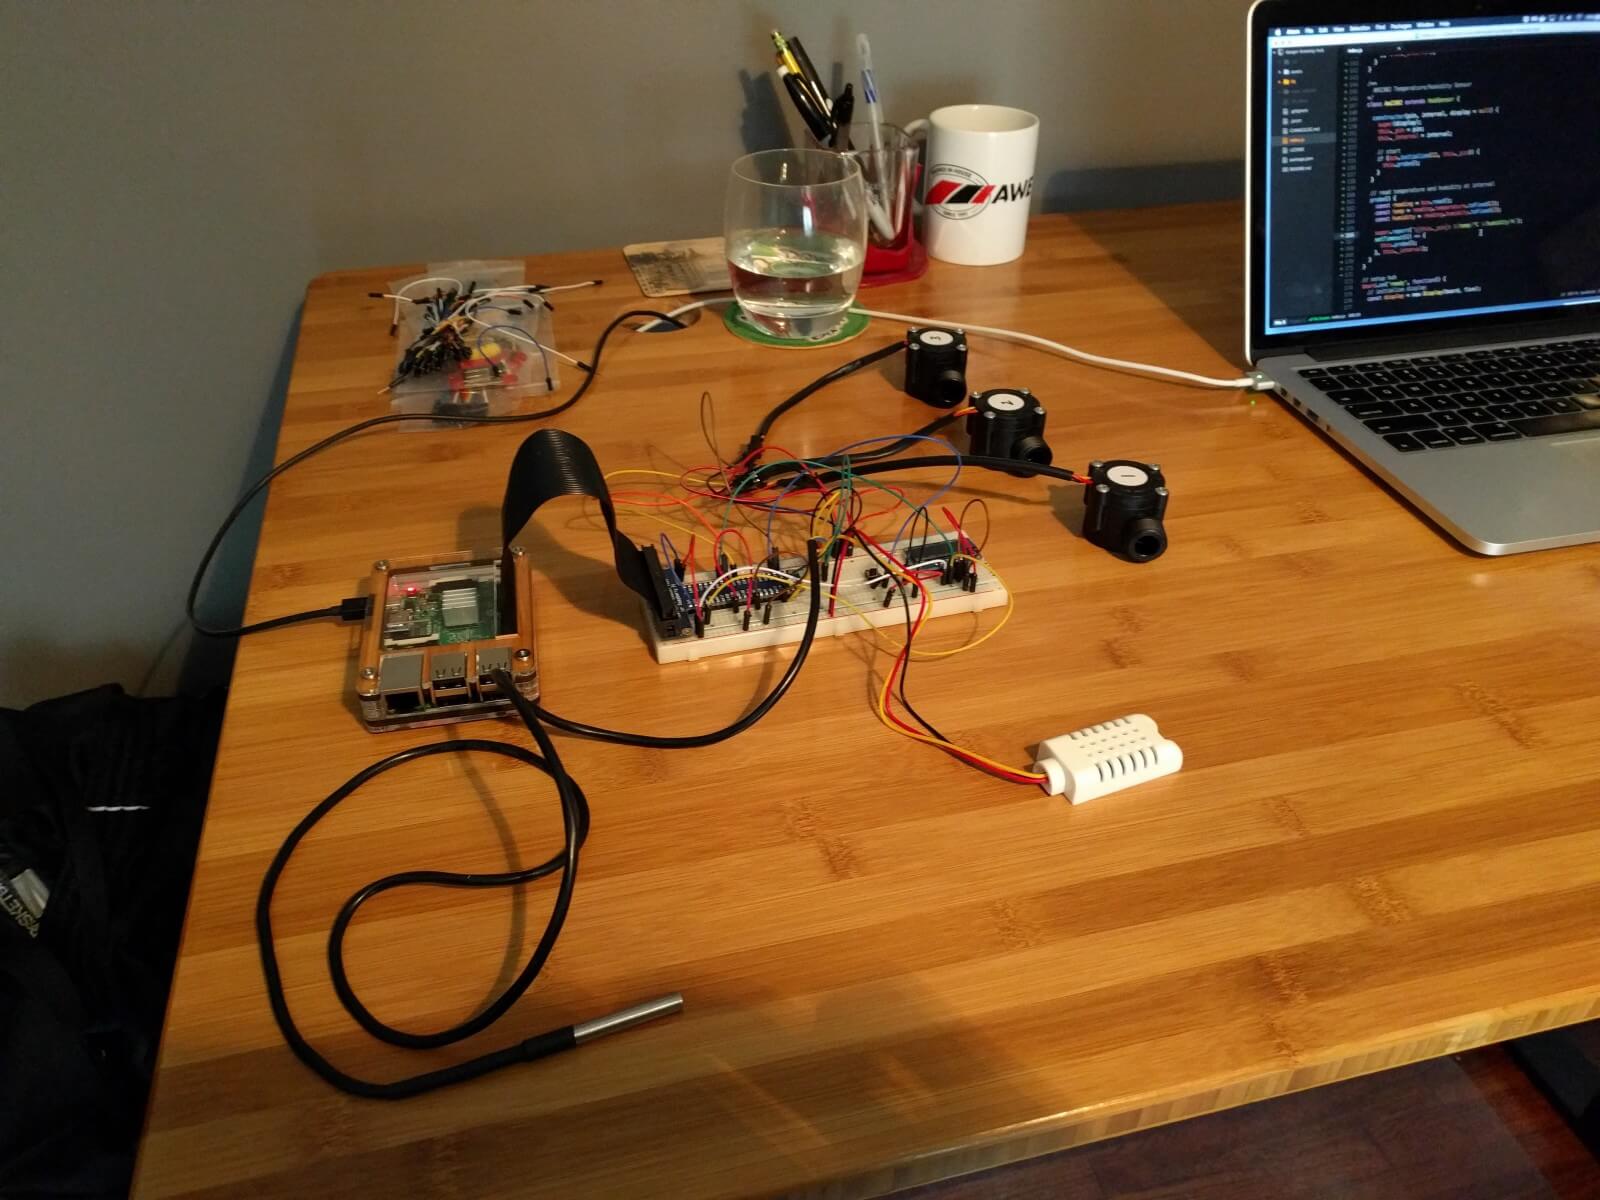
There’s a much more in depth overview of setting up my Raspberry Pi and all of the sensors on the README of the repository.
Before I integrated Firebase into my pi, I switched gears to build the web application. This was mainly so I could establish my data model and understand how I would communicate with Firebase from the kegerator. The web application code can be found here. There’s a brief overview of getting started.
With the web application in a good spot and the data model in place, I could then integrate Firebase into my pi. There’s some fairly good documentation for general web applications / node applications here. Now that my Raspberry Pi is talking to the same Firebase application that my Ember app is reading from, I could simulate how my kegerator could act in the real world and see how the two applications would work together.
Next comes the nerve-wrecking part, cutting all the wires so I could make it permanent.
Making It Real
Before making the prototype permanent, I had to assemble my liquid lines. First, wrap each flow meter with a substantial amount of teflon tape (I learned that lesson the hard way) and these barbed fittings. Get an idea of where you want the flow meter to sit within the kegerator (I chose near the keg) and cut your beer lines. If your beer line interior diameter is physically smaller than 1/4", make your life easier but sitting your beer lines in warm water for a minute or two before attaching to the barbed fitting. Ultimately, you should have something like this:
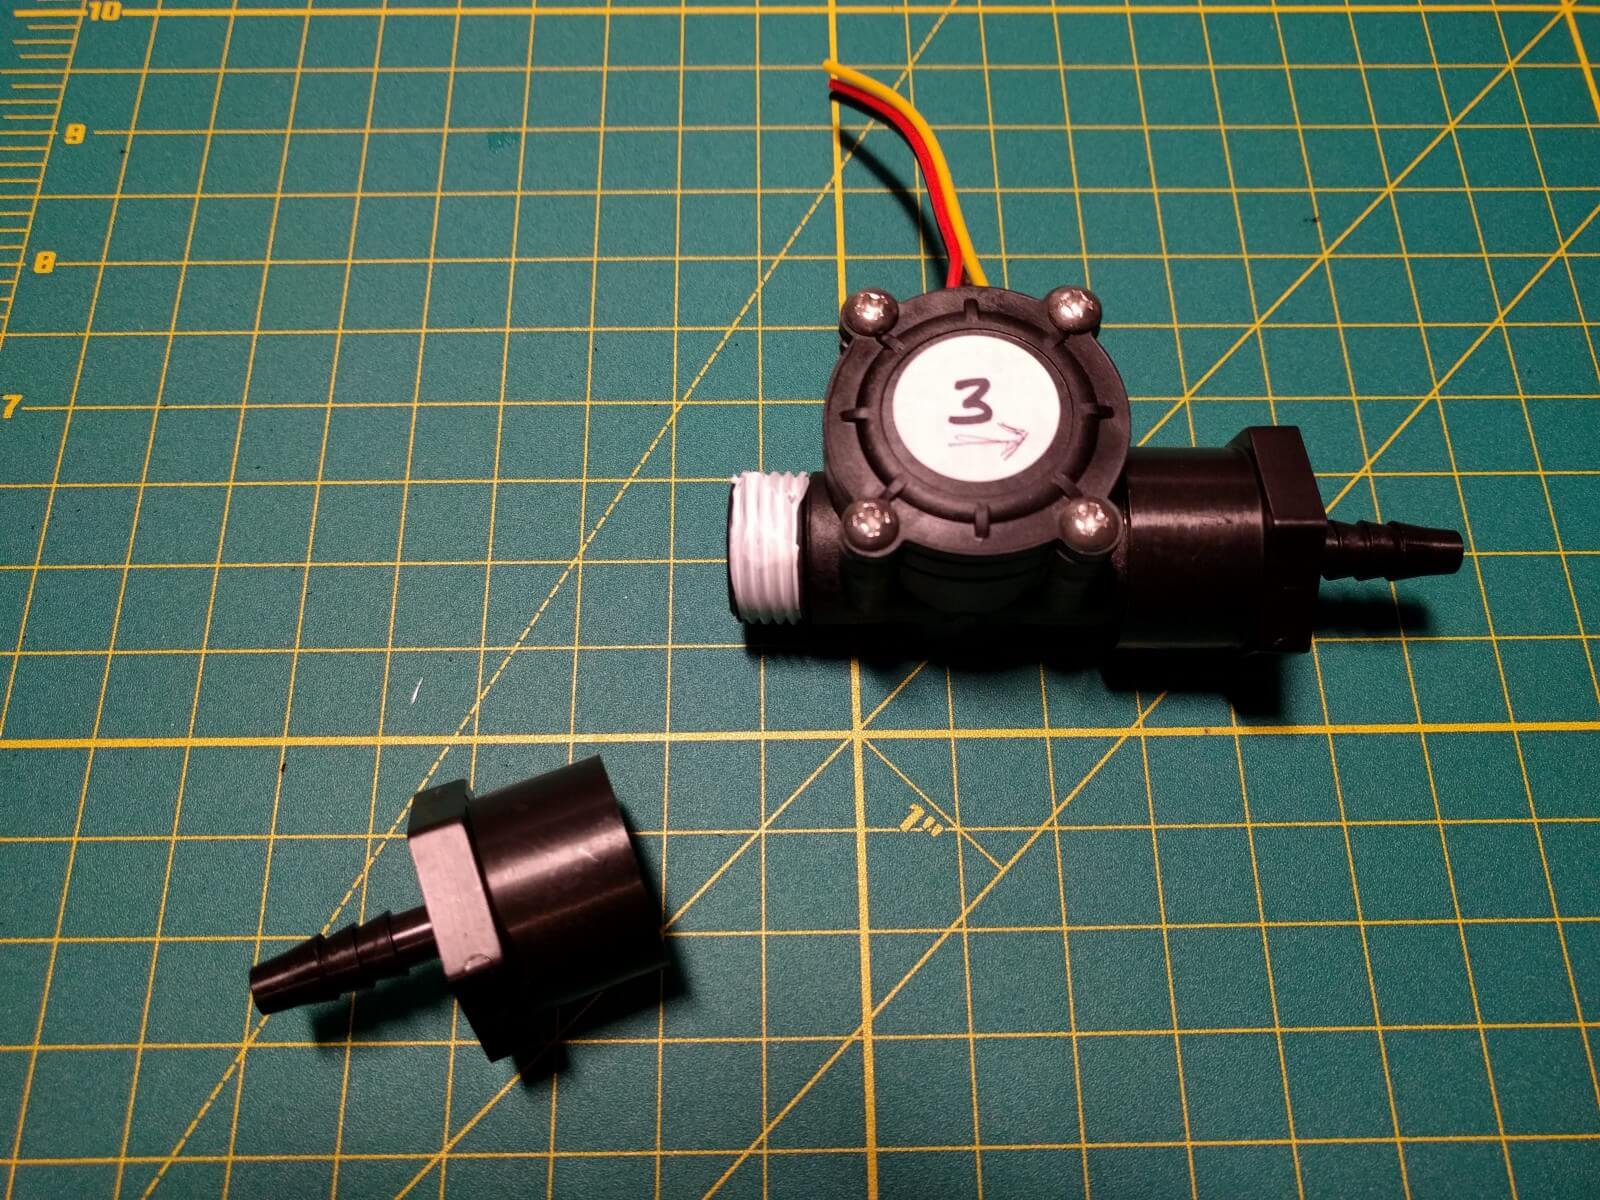
Pro Tip: Make sure you take note of which direction the flow is supposed to go before making your lines.
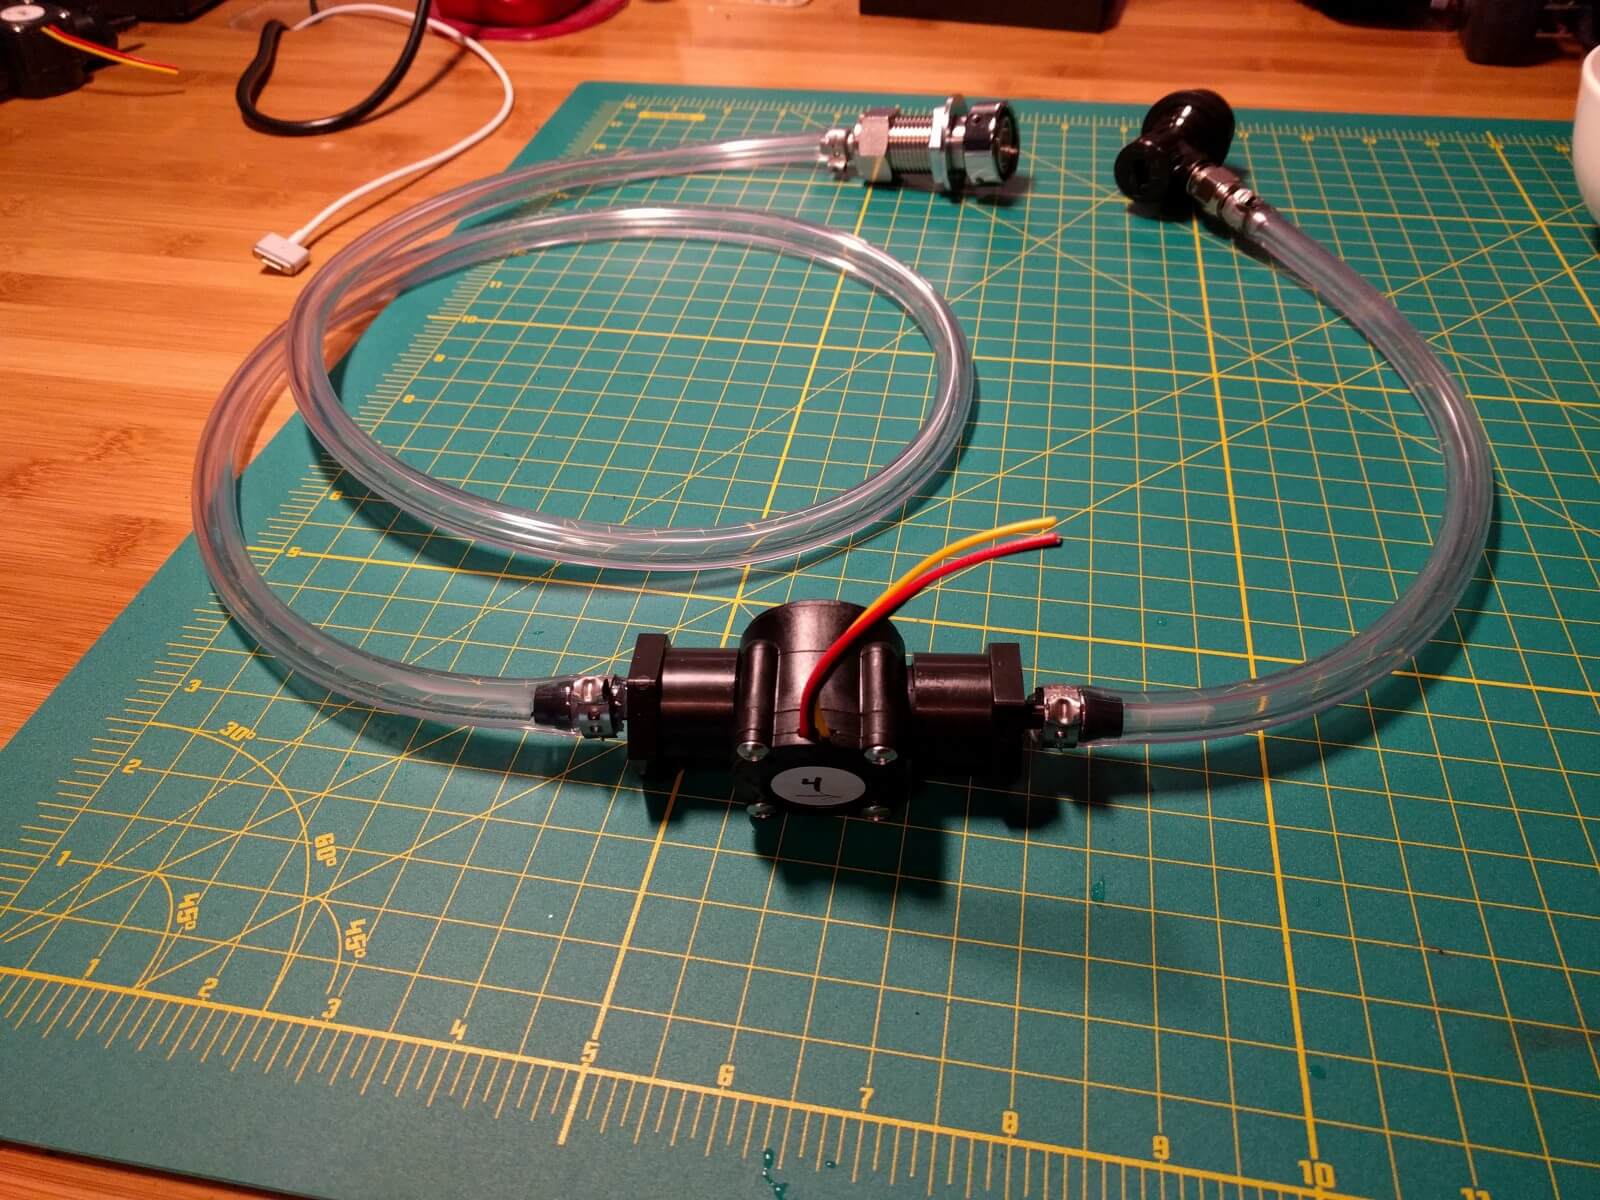
Now we need to turn the breadboard prototype into a real circuit. For this I bought a project box and some perf board. There are plenty of options out there for these. I went with a larger project board so the Cobbler could travel with the circuit to make my life easier.
Muster up some courage and cut all of your sensors.
Assemble any way you see fit, here’s an overview of how my circuit came together:
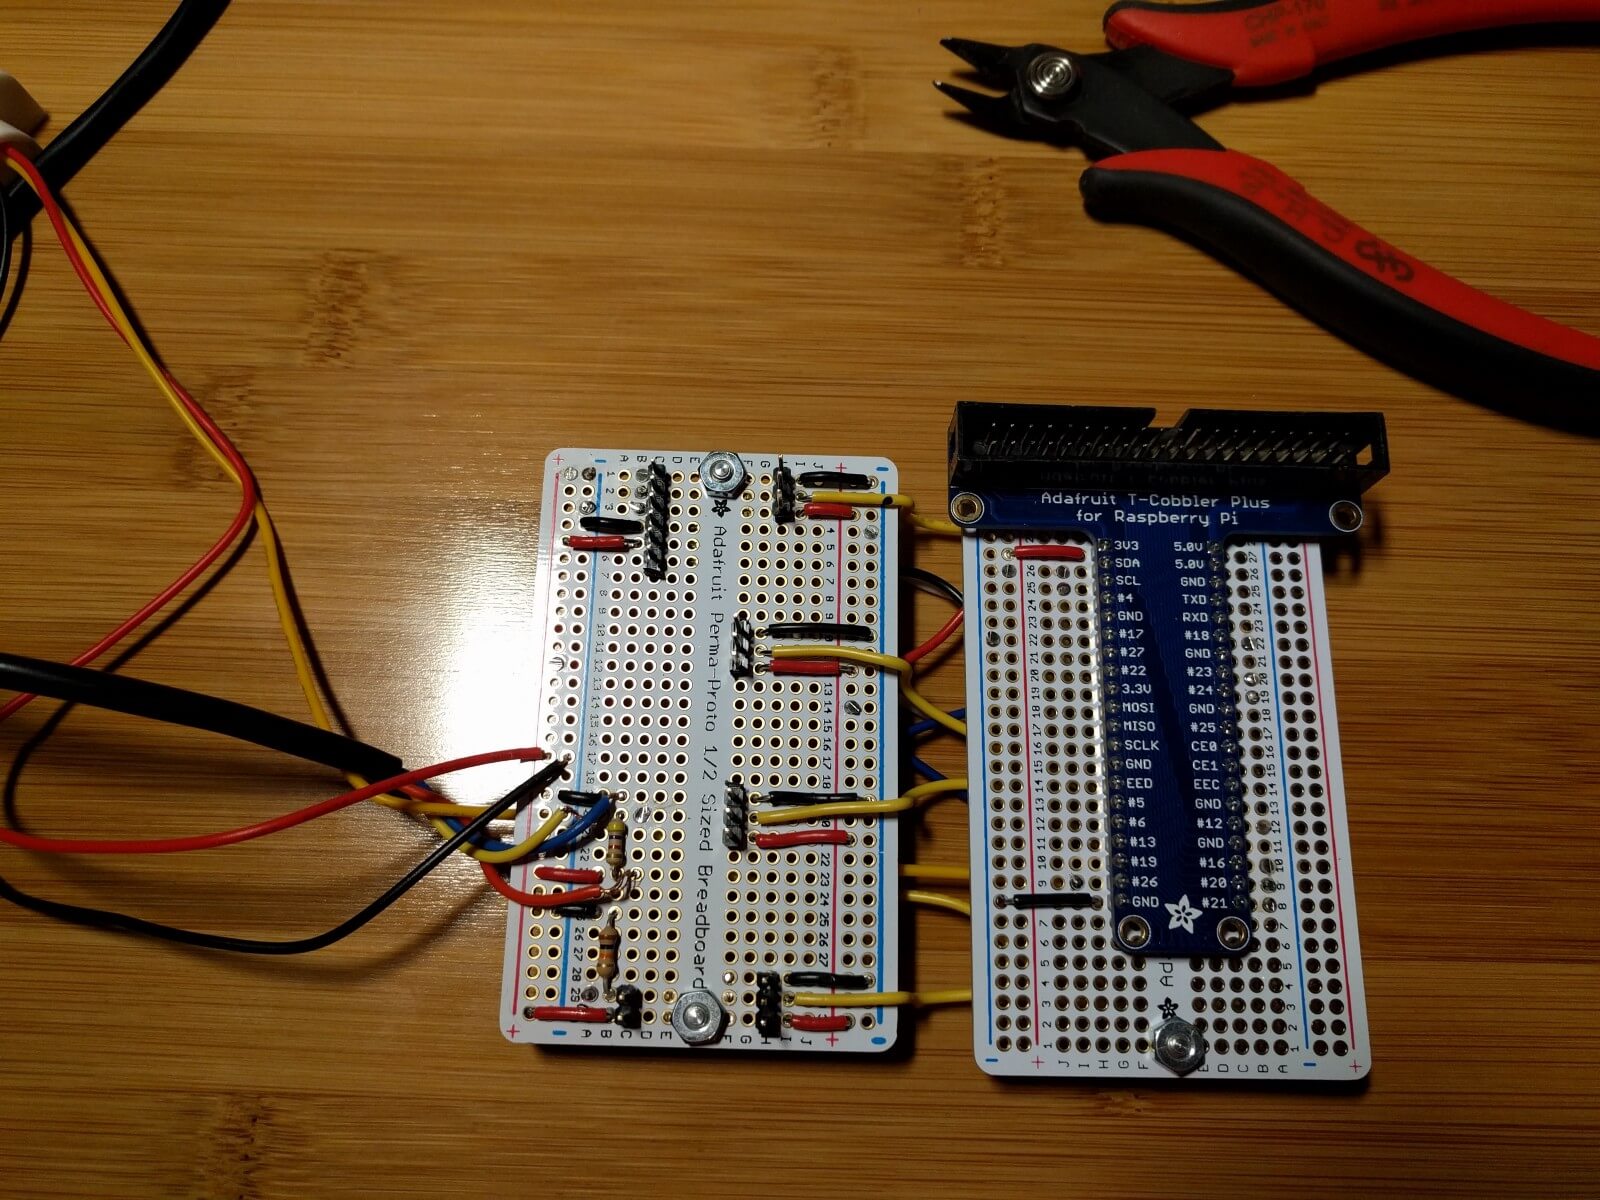
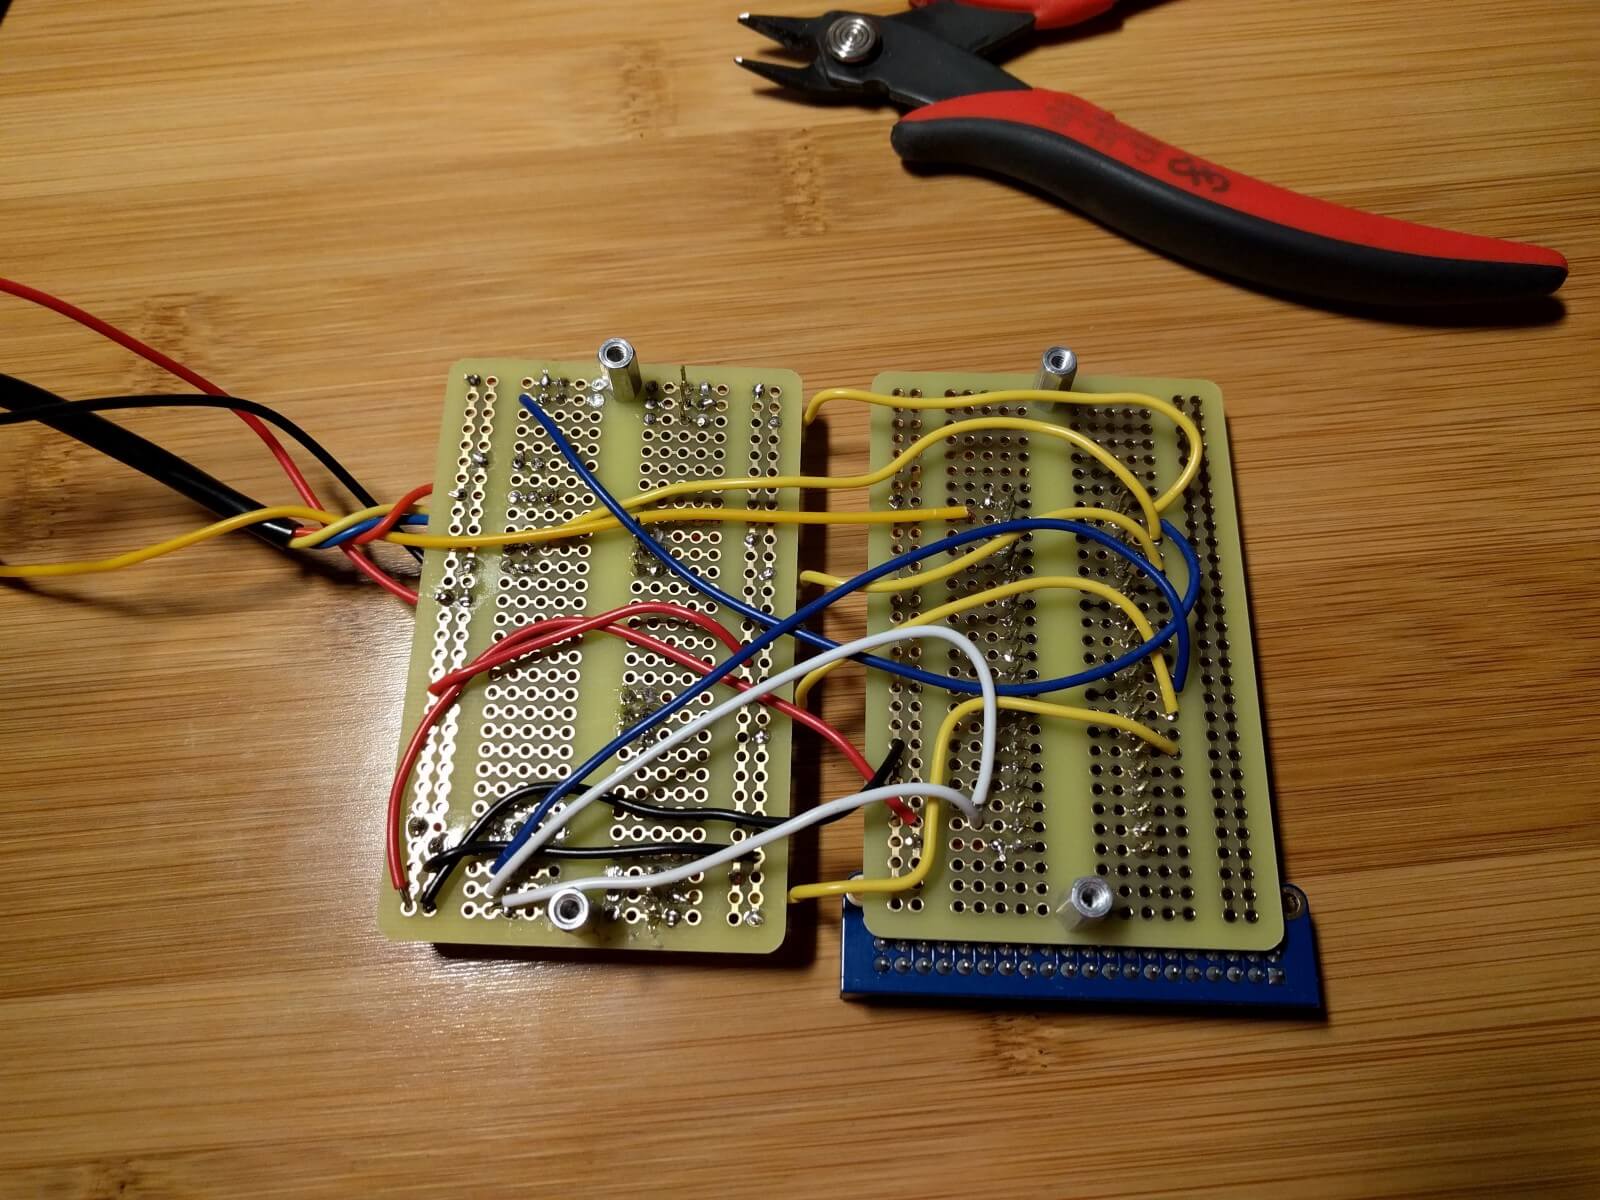
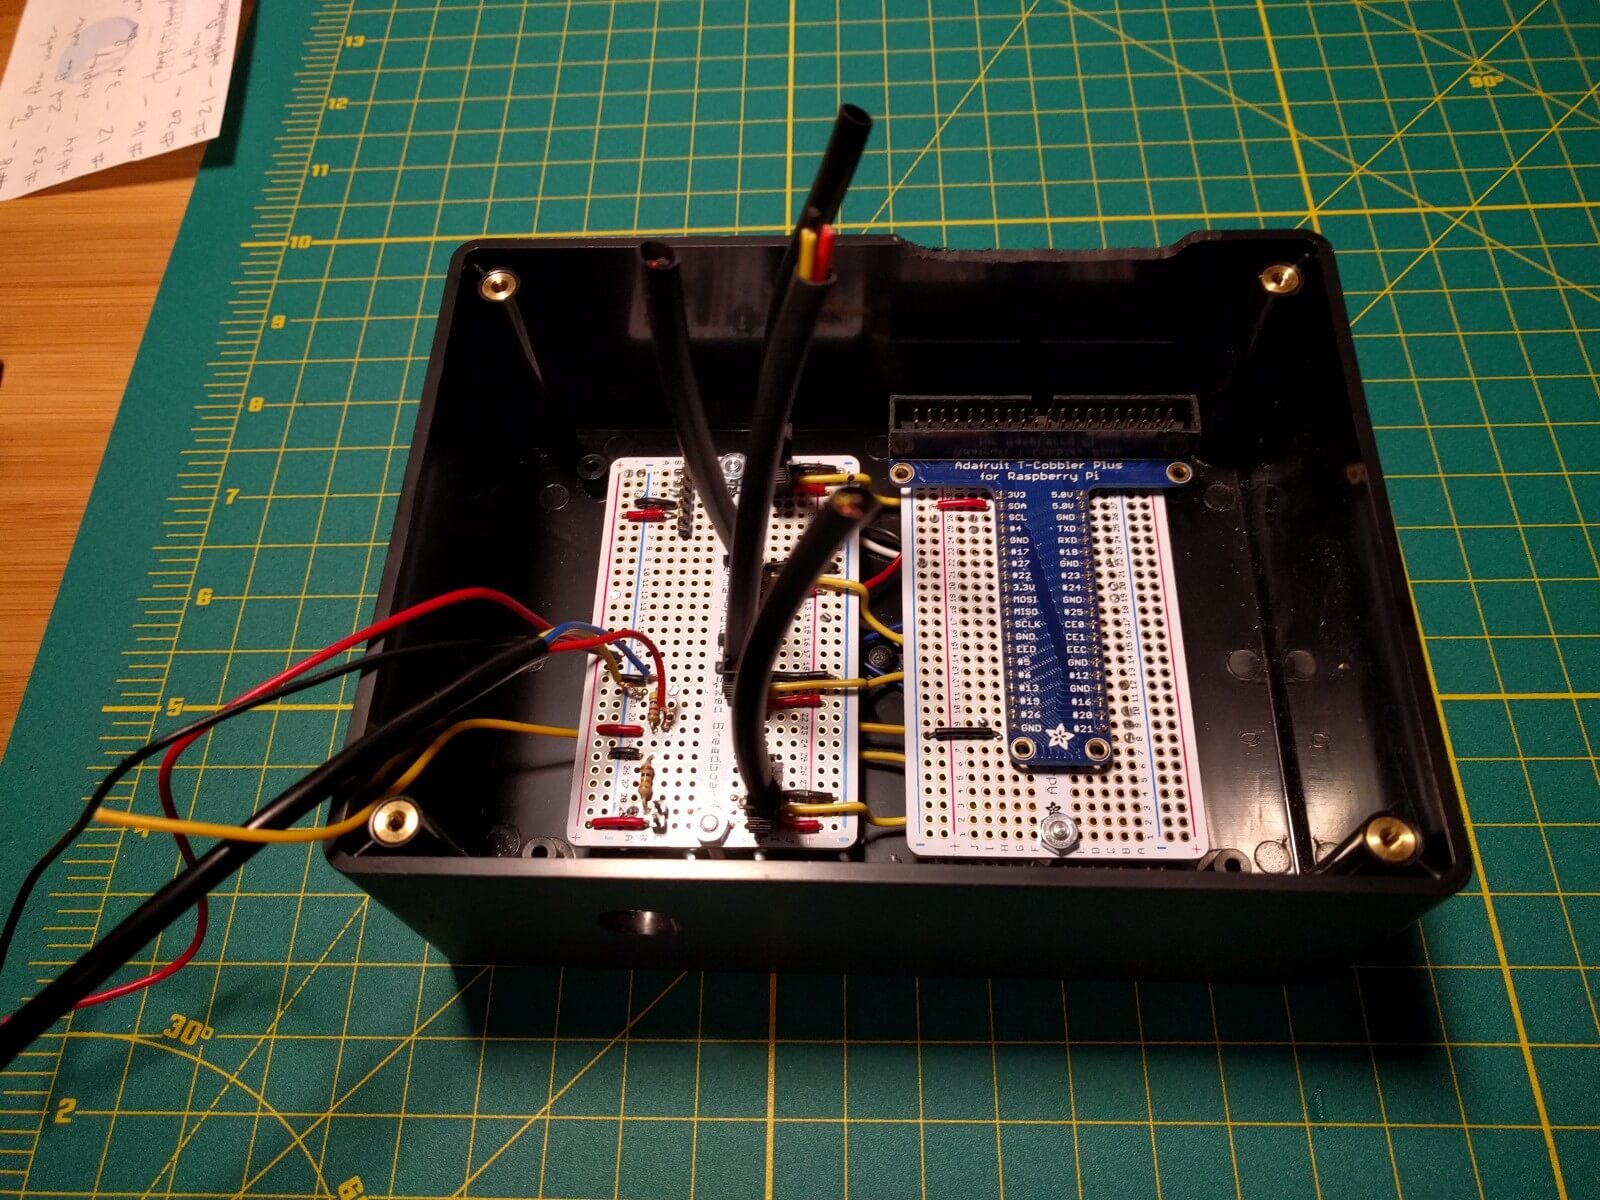
After your circuit is made, it’s incredibly important that you take very careful notes as to what wire is soldered where. Triple check if you have to, it’ll be a lot more difficult to troubleshoot once it’s physically in the kegerator.
If you read the overview or build overview, you’ll remember there’s a cavity between the freezer lid and the kegerator lid. This is where my circuit is going, out of sight.
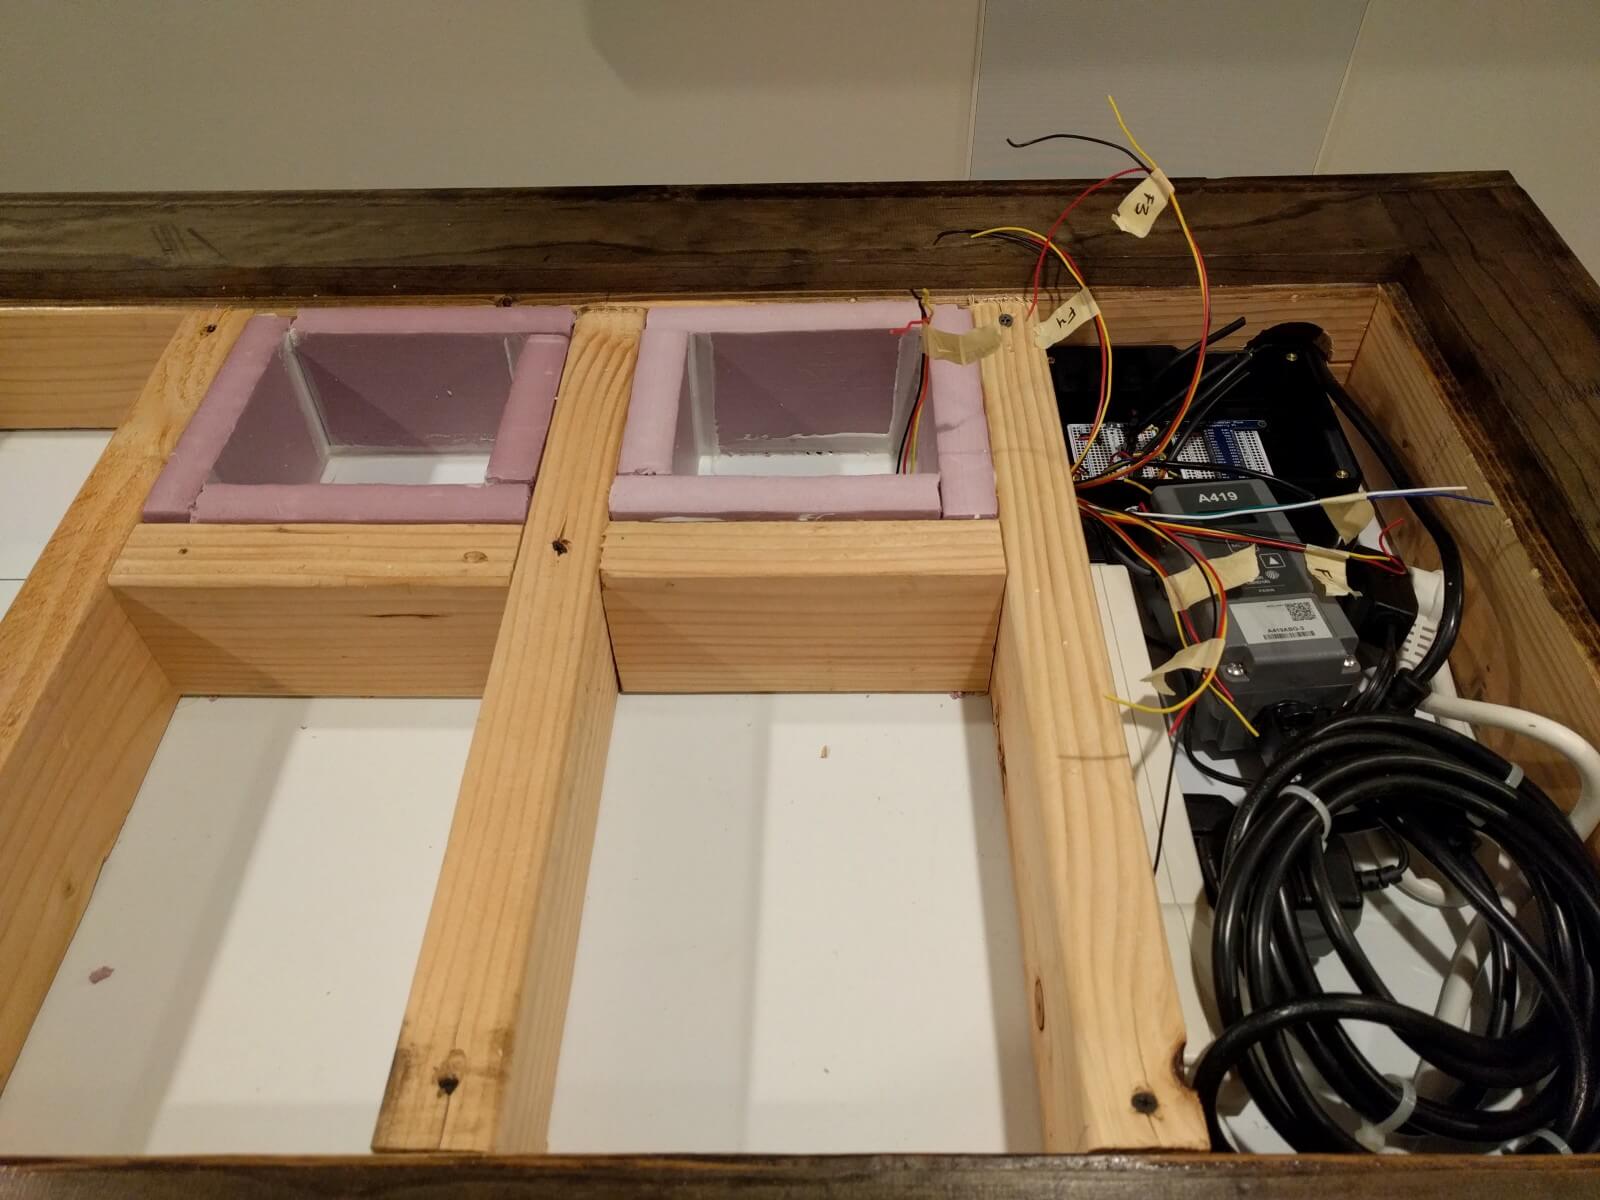
It’s in a large cavity with the freezer temperature controller, a power strip and the power adapter for my freezer air flow fan. There are two cuts in the project box:
- One for all of the wires to travel from the box into the freezer
- A small slit for the ribbon of the Raspberry Pi to travel from the lid into the box
If you’re not good at soldering, you’re about to be. Get enough wire to run all of your sensors into the freezer and solder your connections.
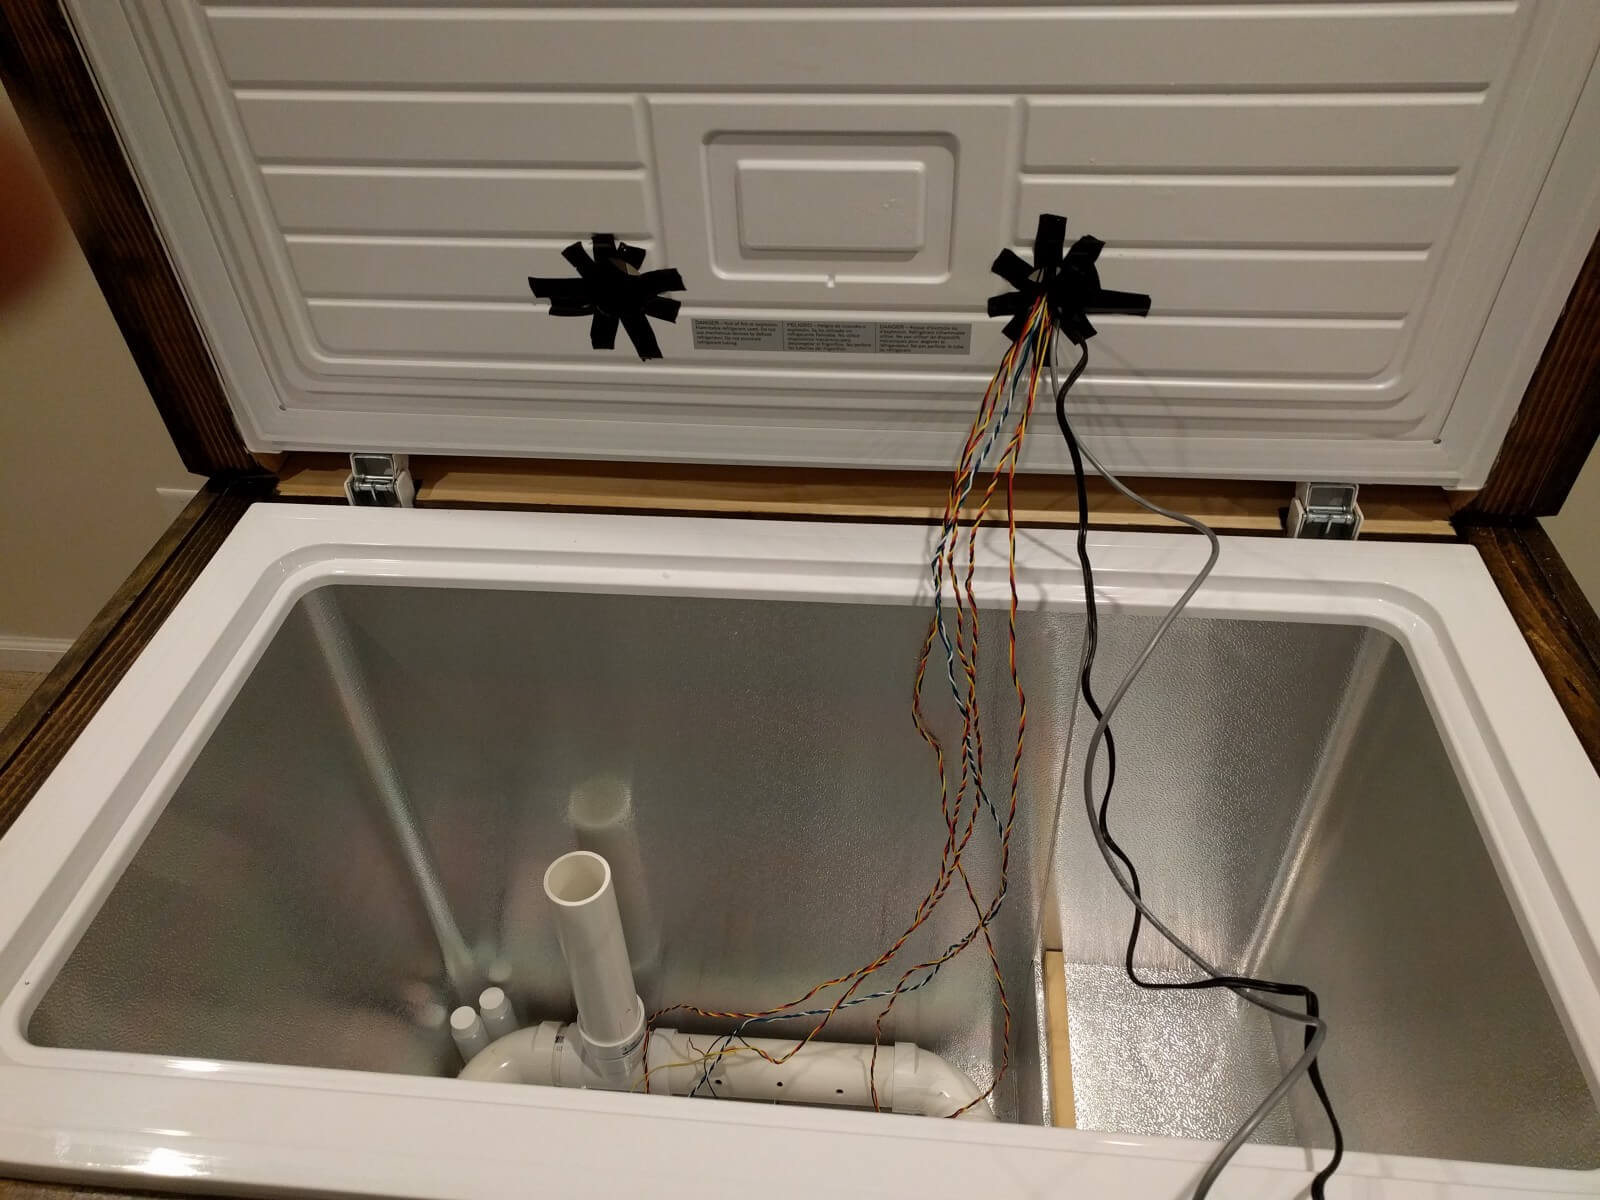
For my DS18B20 sensor (the one that’s physically in the freezer), I put it in a travel shampoo container filled with rubbing alcohol. The alcohol won’t freeze and it’ll provide a more consistent temperature reading.
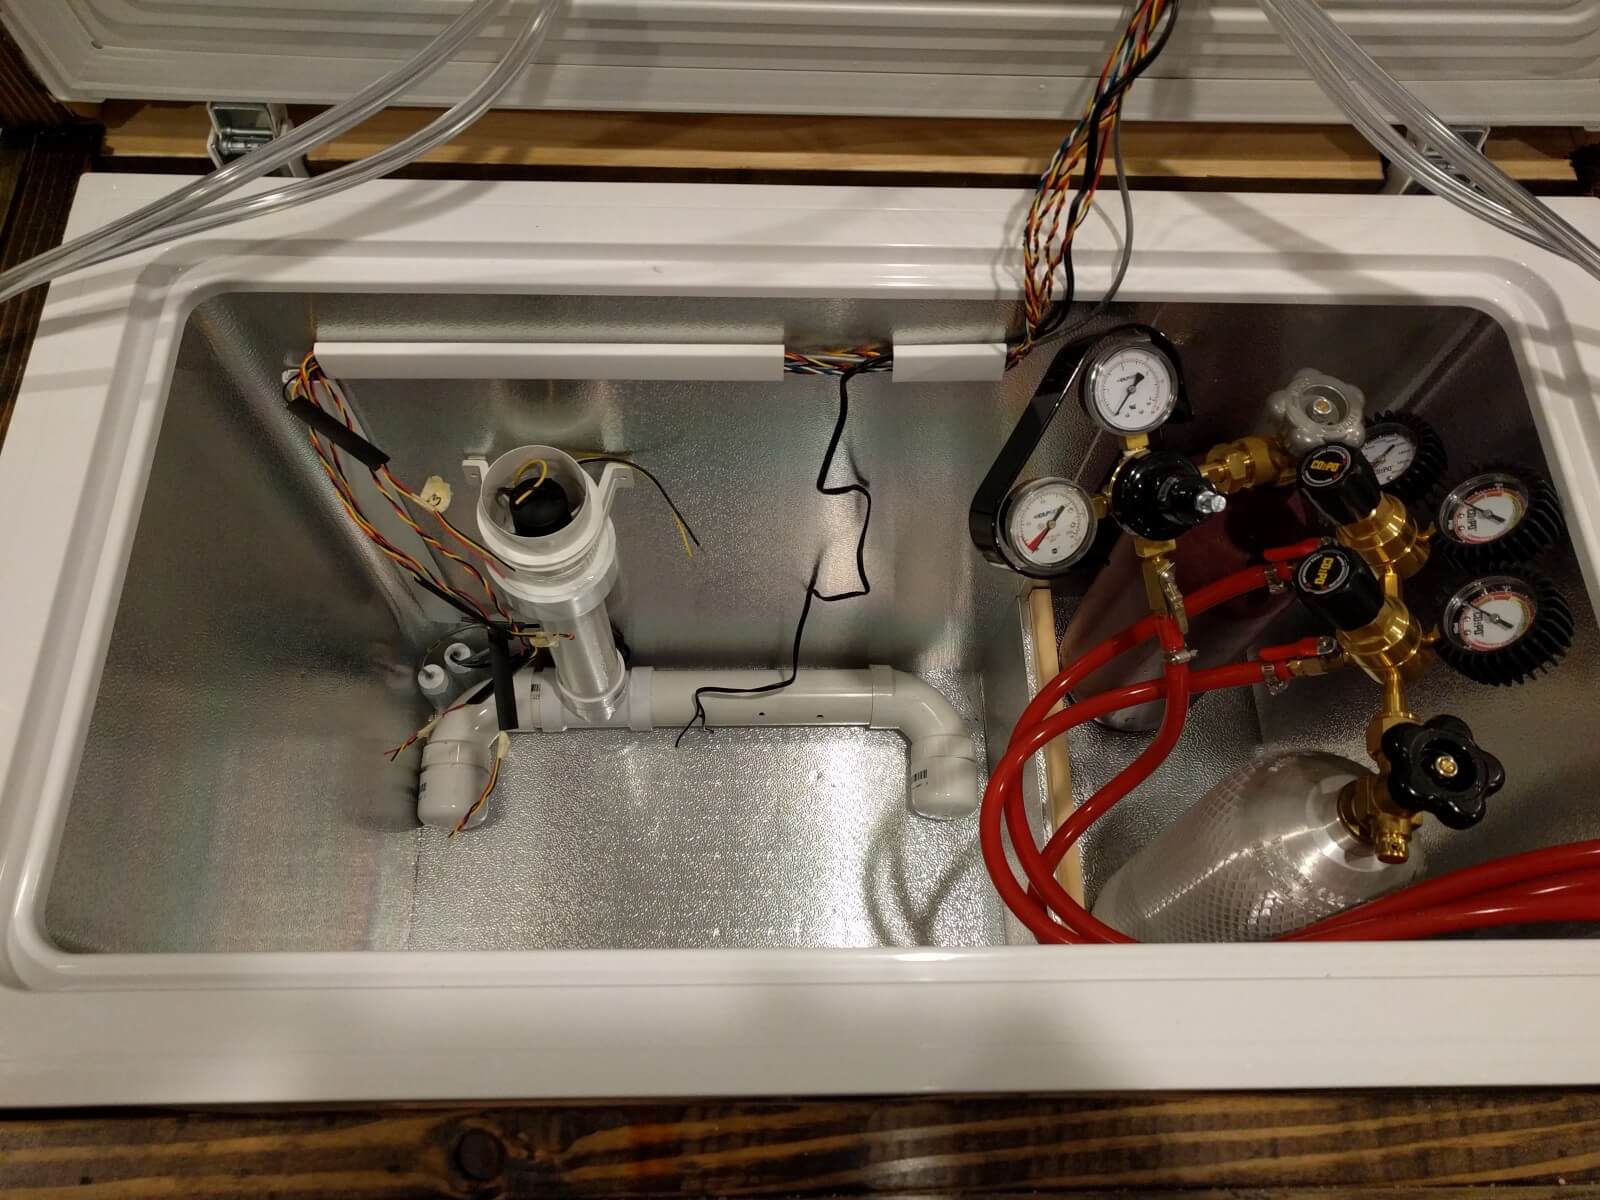
Re-attach your flow meter runs to their liquid lines and you should be done with your electronics. This is where you probably want to turn things on and make sure you soldering everything OK, things still work with Firebase, etc.
As far as testing the liquid lines, that’s hard to do until there’s actually liquid (beer hopefully) in your keg. I didn’t actually test these out until the entire build was done and I carbonated my homebrew to serve. For the record, it was probably the best thing I ever had to debug: Making sure the flow meters poured the right amount of beer. It was a few hours of sitting in the basement with a measuring cup, pouring variable amounts of beer and calibrating the sensor. After all, I think it was Ben Franklin who said:
“Wasting beer is totally the worst thing a human can ever do.”
I’m no historian, but I’m pretty sure that’s accurate.
Contributing
As mentioned throughout, the code for both the hub and web application are open source. They each have detailed instructions on getting started. You can find them here:
Feel free to contribute or help out in some way. If you’d like to see the project in action, you can check it out at: dangerbrewing.io. It’s using a Heroku free dyno, so please be patient with the loading time.
If you have any questions, comments, etc. I’d love to hear them.
Don’t forget to check out the overview of the entire project or the more in detail look at the build process.
Cheers!